This page will show you how to create or update your Norton 2001 Anti-Virus program Rescue Disks. You will need 6 formatted disks to create a new set, or your 6 Rescue disks that you already made and now want to update.
Step 1
Open Norton Anti-Virus
Look down by your clock (System Tray)
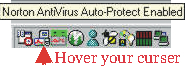
Either right click/Open
or
Double click the Norton Icon
Step 2
Double click on "Rescue Disks"
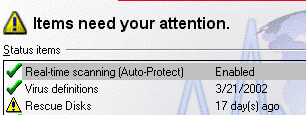
This will probably have
a Red or Yellow Exclamation mark.
Step 3
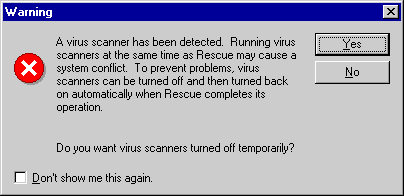
Click "Yes" on this dialog box.
Step 4
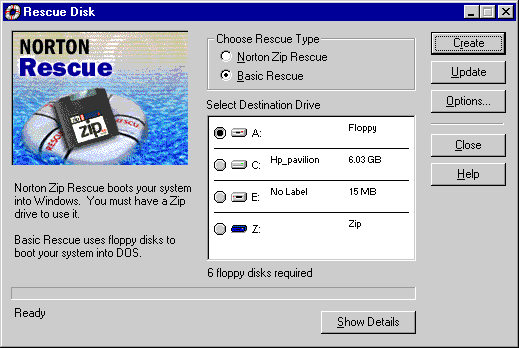
Click the "Create" button to create new disks
Click the "Update" button to update your disks
Step 5
"Creating Disks"
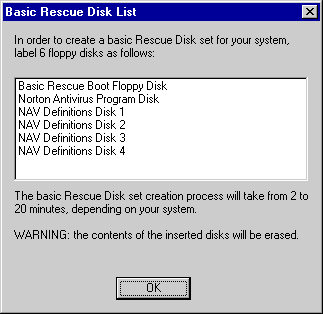
When creating disks, label 6 floppy disks
as indicated in the dialog box.
When complete, click "OK"
Step 6
Insert the "Basic Rescue Floppy Disk"
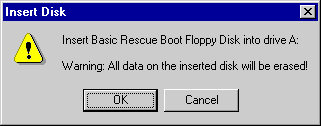
When the disk is inserted, click "OK"
Step 7
When this dialog box opens,
Remove the "Basic Rescue Floppy Disk"

Insert the "Norton AntiVirus Program Disk"
Click OK
Step 8
Do the same with the remaining Disks.
Be sure to remove the current disk,
then insert the next disk,
then click "OK"
Step 9
Rescue Disk Update
Complete
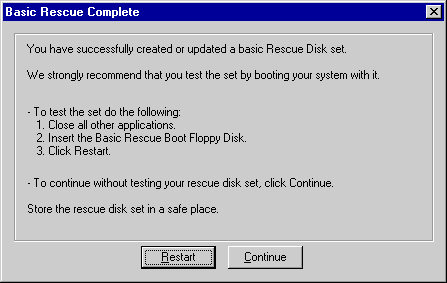
You can "Test" you updated, disks if you like,
but this really is not necessary. Click the "Continue" button
For newly created disks, I think it is a
good idea to test them.
Follow the direction in the dialog box above.
The computer will restart in DOS mode at:
A:\R Shell
When you see the DOS shell, press the "Escape" key. When the prompt returns to:
A:\
Remove the "Basic Rescue Floppy Disk" and press the "Off" switch. Allow about 10 -20 seconds, then restart your computer.