How To's
How To Send A Picture
With Outlook Express
Hover your cursor over a picture to see Tool Tips.
Use the F11 key to view full screen
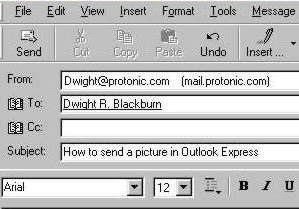
New Message Window
Address and add a Subject line
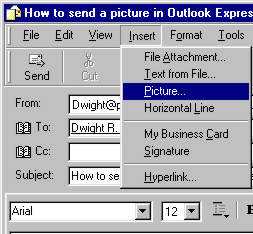
To Insert Picture
Click into the message body

And click the "Insert Picture" button
|
The difference between inserting a picture into an email and attaching a picture as a file attachment. Attaching a picture file will work for all email. The picture is attached just like any file attachment. The recipient can open the file attachment or not, at their discretion. You attach a file using the Insert/file attachment menu option |
Or use the Insert Menu
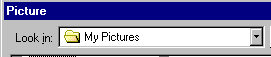
Clicking the "Insert" button opens this "Picture" window. Use the browse button to navigate to the picture you want to insert. Usually these are stored in:
C:\My Documents\My Pictures
|
|
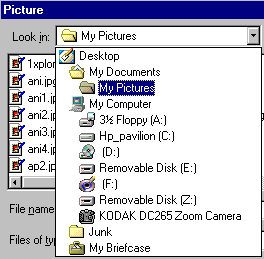
Use the "Look In" box to navigate to the save location of the picture file you want to send. Click on the folder where your pictures are stored.
When the folder where your pictures are stored is set, look for your image file in the display.
|
|
|
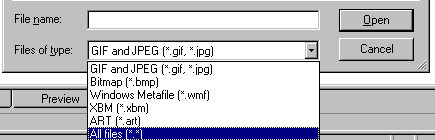
Be sure to note the "File of Type" box at the bottom of the "Picture" window. The default value is ".Gif" and ".jpeg". If your image file is in another format, you will need to either set that format in the "Files of Type" box, or set "All files". |
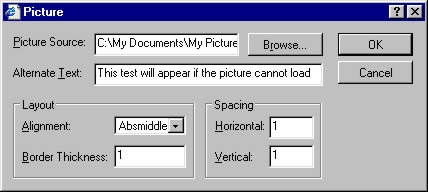
The Alternate text box is what makes the "Tool Tips" show when you hover your cursor over the picture. You can type in anything you want here. In addition, if for any reason the picture fails to load properly (be visible), the recipient will at least know what you attempting to send.
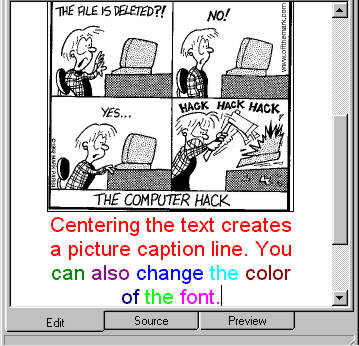
I like to use a different color for picture caption lines.
This is the Format Toolbar
![]()
Font selection box, Text size, Paragraph style, Bold (B)Italic (I)Underline(U)Font color(A) then line numbers, bullets, increase, decrease indent, text alignment(left, Center, Right align), insert line, create hyperlink, insert picture
I would sure like to hear from you about this page. Does this information help you use your computer? Do you have any suggestions or comments about ways to improve this?